By Mithun
How aperture, shutter speed and ISO control brightness, how to trade one for another, and a chart of starting settings for common scenes.
The exposure triangle is the name for the three settings that control how bright a photo is: aperture, shutter speed and ISO. Each one also changes the photo in a second way. Aperture changes how blurred the background looks, shutter speed changes how movement looks, and ISO changes how much grain appears. When you change one setting, you adjust another to keep the same brightness. This guide explains each setting, how to balance them, and where to start for common scenes. For camera modes and first settings, see our DSLR for beginners guide, and find more in Photography & Gear.
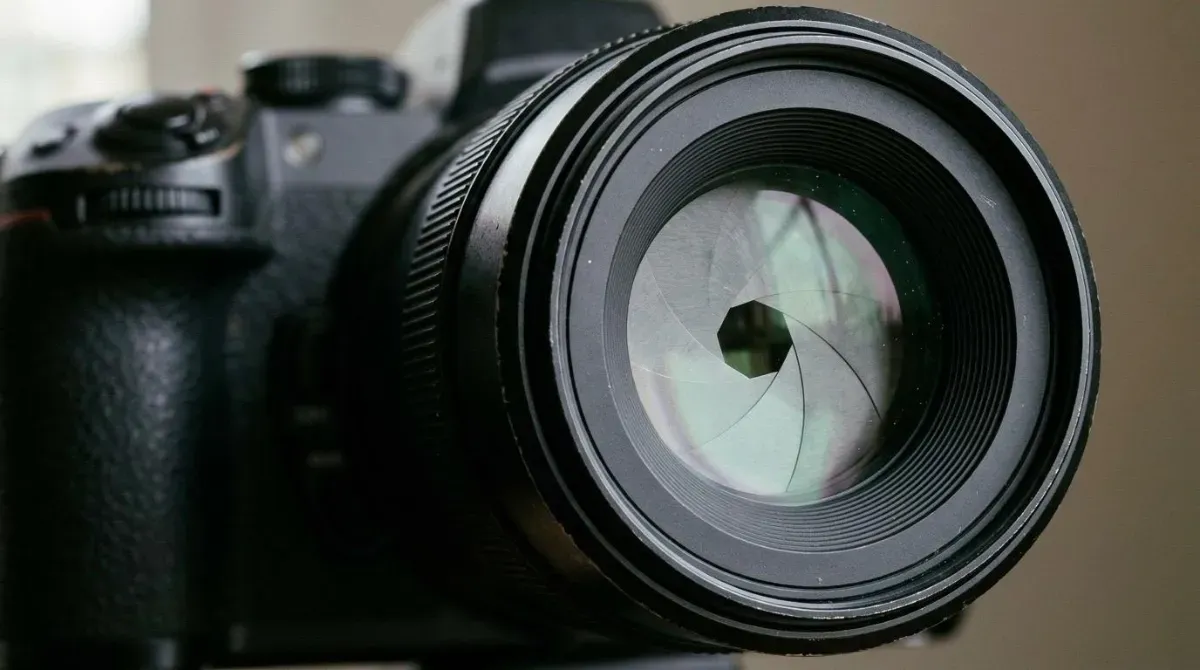
Aperture is the adjustable opening inside the lens that lets light through to the sensor, written as an f-number such as f/2 or f/16, as Canon's guide to aperture explains. The f-number is the focal length divided by the width of the opening, which is why a lower number means a bigger opening. On a 50mm lens, f/2 gives an opening 25mm wide and f/22 one about 2mm wide, Digital Camera World shows.
The full steps on the aperture scale are f/1.4, f/2, f/2.8, f/4, f/5.6, f/8, f/11, f/16 and f/22. A low f-number lets in more light and blurs the background, while a high f-number keeps more of the scene sharp from front to back. This zone of sharpness is called depth of field.
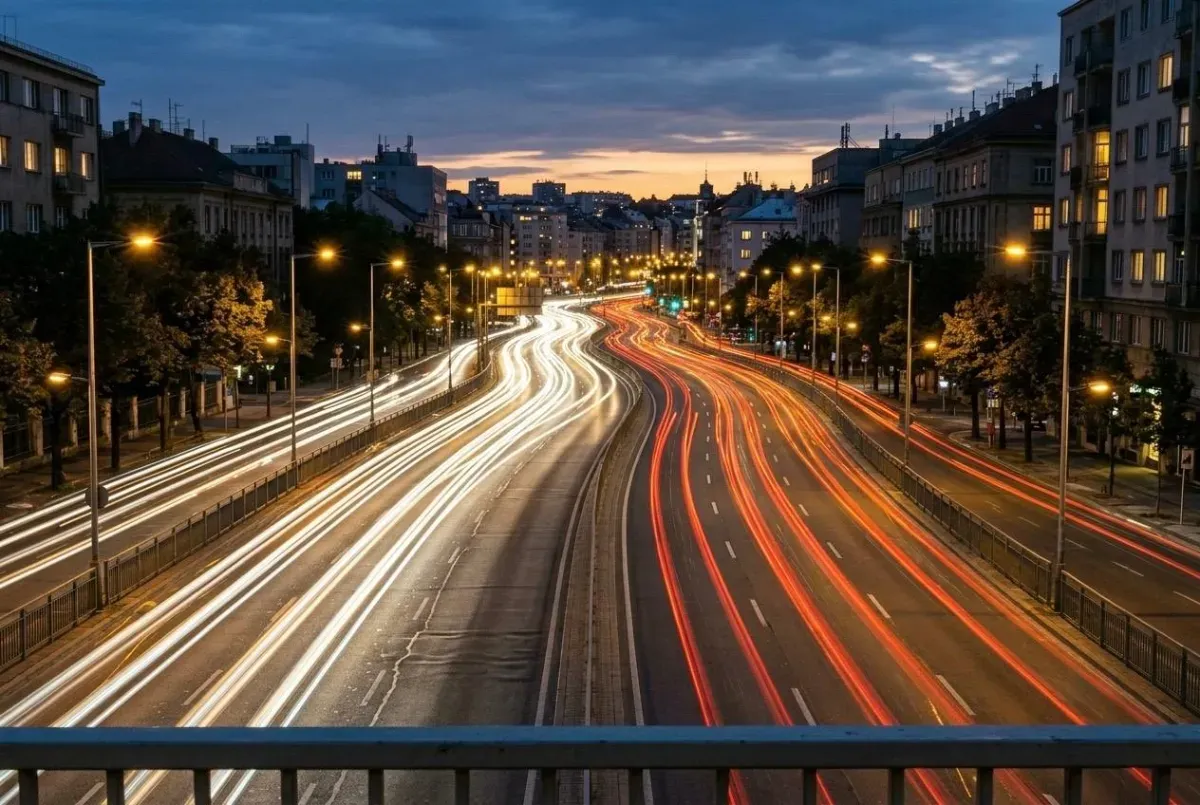
Shutter speed is how long the shutter stays open to let light reach the sensor, shown in seconds or fractions of a second, such as 1/250s. A fast speed of about 1/1000s freezes movement, while a slow speed blurs anything that moves, according to Cambridge in Colour's guide to camera exposure. Photographers use slow speeds on purpose for motion blur, such as light trails from traffic.
A slow speed also records the shake of your hands. To keep a handheld photo sharp, use at least 1 divided by the focal length multiplied by the crop factor, which is 1.6 on Canon and 1.5 on Nikon and Sony beginner cameras. A 50mm lens on a Canon therefore needs 1/80s or faster, Digital Photography School explains.
ISO is how much the camera brightens the signal from its sensor. The name comes from the International Organization for Standardization, which set the scale, and most cameras start at a base ISO of 80 or 100, ExpertPhotography notes. Each time you double the ISO, from 100 to 200 or 400 to 800, the photo gets one stop brighter.
A higher ISO adds noise, the grainy speckles that reduce detail, so keep ISO as low as the light allows. Auto ISO lets the camera raise ISO only when it needs to, within a range you set, such as 100 to 3200, as Digital Photography School's guide to Auto ISO suggests.
All three settings are measured in stops. One stop doubles or halves the light, so you can give one setting a stop more light and another a stop less and keep the same brightness. Cambridge in Colour gives the example of f/8 at 2 seconds and f/5.6 at 1 second producing the same exposure.
The columns below are separate scales, so read down a column, not across a row. Each step down makes the photo one stop brighter.
| Aperture | Shutter speed | ISO |
|---|---|---|
| f/22 | 1/1000s | 100 |
| f/16 | 1/500s | 200 |
| f/11 | 1/250s | 400 |
| f/8 | 1/125s | 800 |
| f/5.6 | 1/60s | 1600 |
| f/4 | 1/30s | 3200 |
| f/2.8 | 1/15s | 6400 |
| f/2 | 1/8s | 12800 |
| f/1.4 | 1/4s | 25600 |
In the same light, these three settings give an equally bright photo:
The last one has the most blurred background and freezes movement best.
These starting points come from camera makers and photography teachers. Take the photo, check it, and adjust from there.
| Scene | Mode | Aperture | Shutter speed | ISO |
|---|---|---|---|---|
| Portrait | Aperture Priority | f/1.8 to f/4 | Set by the camera | Auto |
| Landscape | Aperture Priority, on a tripod | f/8 to f/11 | Set by the camera | 100 |
| Moving subject | Shutter Priority | Set by the camera | 1/1000s or faster | Auto |
| Indoors in low light | Aperture Priority | The widest your lens allows | At least 1/(focal length x crop factor) | 800 to 1600 |
The portrait range comes from Canon and Digital Photography School, the landscape settings from Digital Photography School, the action speed from Canon UK and the low-light settings from Nikon.
A histogram is a graph of the brightness in your photo, with shadows on the left and highlights on the right. There is no single correct shape, but a graph pressed against the right edge means the brightest parts have turned plain white and lost detail that cannot be recovered, Cambridge in Colour explains. Turn on the histogram in your camera's playback display and check it after the first shot of each scene.
Exposure compensation tells the camera to make the photo brighter or darker than its meter suggests, using the +/- button. The meter assumes every scene is mid-grey on average, so snow comes out grey and dark scenes come out too bright. Cambridge in Colour suggests about +1 for snow, a minus setting for dark scenes, and -0.3 to -0.5 to protect bright areas in high-contrast scenes. On an iPhone, the exposure slider beside the focus box does the same job, as our guide to iPhone camera settings shows.
Aperture, shutter speed and ISO. Aperture controls how much light passes through the lens, shutter speed controls how long it reaches the sensor, and ISO controls how much the camera brightens the result.
Set the one that matters most for the photo first: aperture when you care about background blur, shutter speed when the subject moves. Then raise ISO only as far as you need for a bright enough photo.
Aperture is how wide the lens opens, and it changes how blurred the background looks. Shutter speed is how long the shutter stays open, and it changes whether movement looks frozen or blurred.
A stop is a doubling or halving of light. Going from f/8 to f/5.6, from 1/250s to 1/125s, or from ISO 100 to 200 each makes the photo one stop brighter.
Use ISO 100, or your camera’s lowest setting, in bright daylight. Indoors, ISO 400 to 800 is a common range, and at night you may need 1,600 or more.