By Mithun
A glowing sunset turns grey on your phone. These six iPhone camera settings keep the colour, and each takes under a minute to change.
Open Settings, tap Camera and switch on Grid. Two horizontal and two vertical lines split the viewfinder into nine equal boxes, a layout photographers call the rule of thirds. A subject placed where two lines cross looks more balanced than one in the centre, and a horizon along the top or bottom line makes a beach or lake feel wider and calmer. Level sits just below Grid and is worth turning on too. A yellow line appears when the phone is perfectly straight, which keeps skylines from tilting. When you photograph a table from directly above, crosshairs help you hold the phone flat.
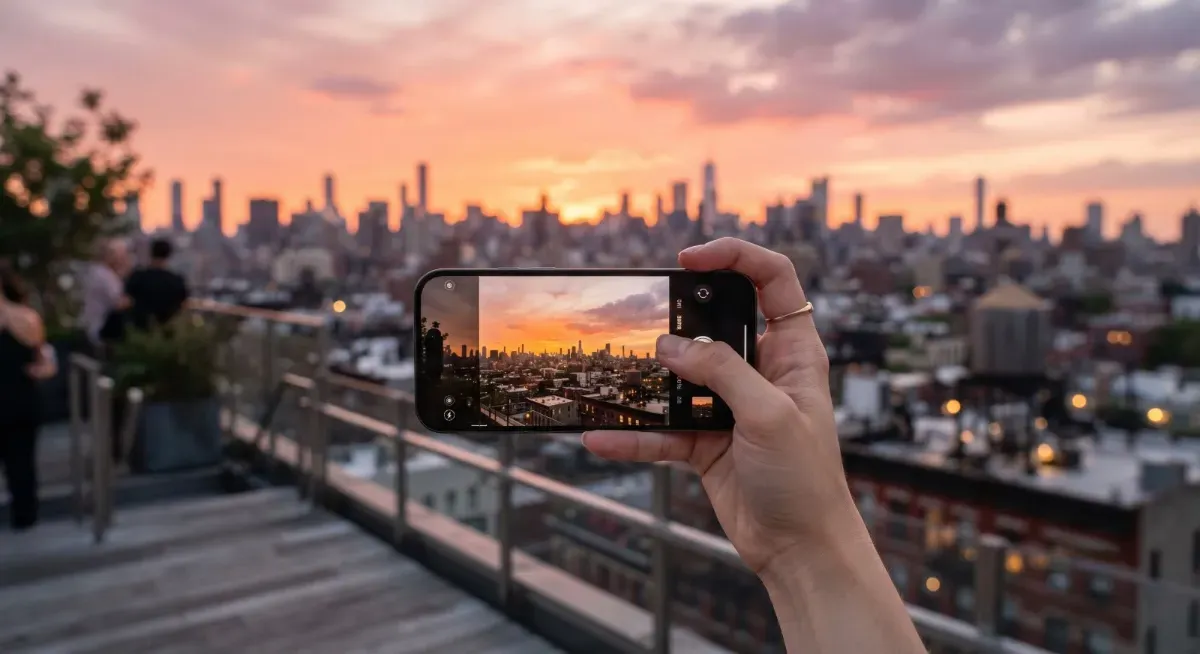
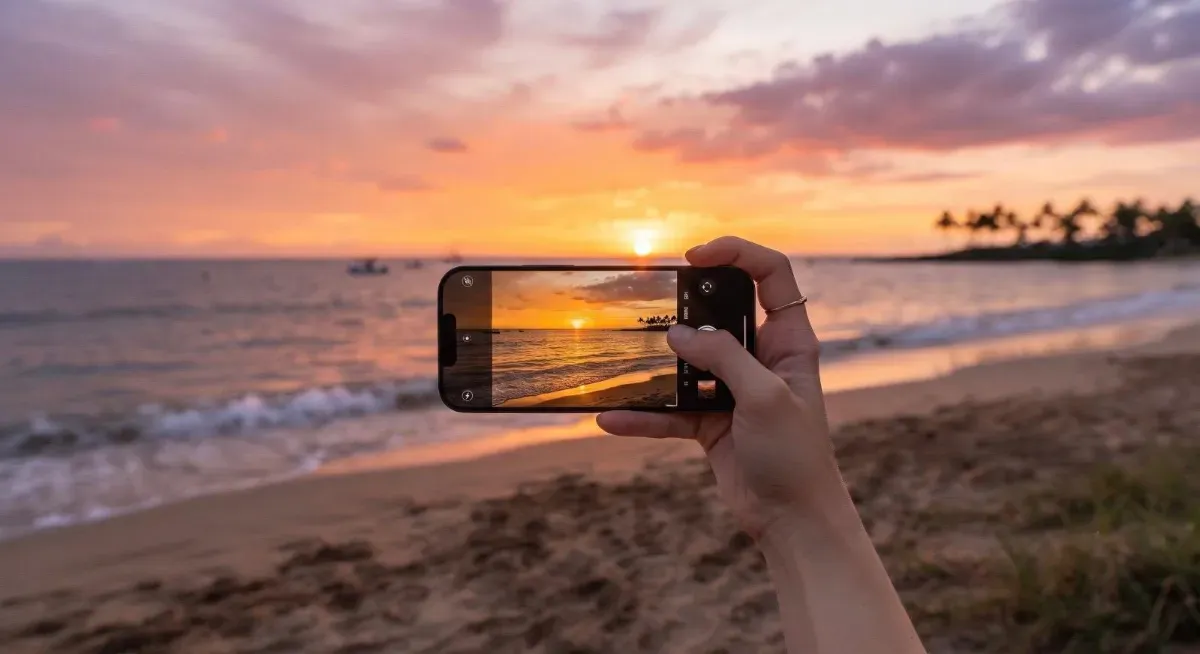
When you tap the screen, the iPhone focuses on that spot and sets its brightness, but it measures the light again as soon as the phone moves. If you press and hold on the spot instead, a yellow AE/AF Lock banner appears. Focus and exposure (the overall brightness of the photo) then stay fixed for every shot until you tap somewhere else. A small sun icon sits beside the focus box. Drag it up to brighten the photo and down to darken it, and the lock holds while you adjust. For the sunset, press on the sky and slide the sun down until the orange comes back. For a friend in front of a bright window, press on their face and slide the sun up so they don't turn into a silhouette. If you want the camera to keep your adjustment the next time you open it, turn on Exposure Adjustment under Settings > Camera > Preserve Settings.
On the iPhone 15 and later, the main camera saves 24MP photos by default, which is plenty for social media, a blog or a good-sized print. When you plan to crop heavily, such as pulling a single bird out of a wide shot of a lake, switch to 48MP in Settings > Camera > Formats. The files are much larger, so switch back afterwards. ProRAW is in the same menu on Pro models from the iPhone 12 Pro onwards. It keeps far more of what the sensor captures, so you can rescue a bright sky or bring out detail in dark shadows when you edit. Each file is roughly ten to twelve times the size of a normal photo, so use ProRAW only for shots you plan to edit in Photos or Lightroom.
On the iPhone 11 and later, Night mode switches on by itself when the light fades, and a yellow moon icon appears with a number of seconds beside it. Rather than taking one long exposure, the iPhone captures a quick run of frames, discards the blurry ones and blends the sharpest into a single bright photo. Tap the moon icon to choose the capture time yourself. When something is moving, such as friends at a party or traffic on a city street, bring it down to about a second. A slightly darker photo with sharp faces nearly always looks better than a brighter, blurred one. Rest the phone on a table or railing when you can, and at a candlelit dinner keep the flash off so the warm light stays warm.
Both settings are in Settings > Camera and are switched on by default. Lens Correction straightens the lines that bend at the edges of the 0.5x Ultra Wide lens and the front camera, so buildings stand upright and group selfies look natural. Prioritize Faster Shooting lets the iPhone ease back on processing when you tap the shutter rapidly, which helps you keep up with children, pets and sport. Leave both on. The only reason to turn off Prioritize Faster Shooting is if you want full processing on every rapid frame.
The iPhone 18 Pro was announced on 9 September 2026. It is the first iPhone with manual controls in Apple's own Camera app, and its six-dot menu holds four of them: aperture, shutter speed, white balance and a live histogram. Shutter speed runs from 1/1600 of a second to a full second. The fastest setting can freeze a dog mid-leap, and the slowest can stretch passing headlights into ribbons of light if the phone rests on something steady. Apple left out ISO on purpose, so the phone manages the sensor's sensitivity while you make the creative choices. The main camera's variable aperture has four settings: f/1.48, f/1.8, f/2.8 and f/4. At f/1.48 the lens lets in the most light and softens the background, which suits portraits and dim cafés. At f/4 more of the scene stays sharp, which suits group photos and landscapes. On the iPhone 17 and older models, the long press and sun slider cover most everyday needs.
The usual causes are movement during a long Night mode capture, focus on the wrong spot, heavy digital zoom or a smudged lens. If photos look soft only when you first open them, they may be stored in iCloud with Optimize iPhone Storage on, and they will sharpen once the full version downloads.
Press and hold on your subject, then drag the sun icon down before you shoot. To keep that setting, turn on Exposure Adjustment in Preserve Settings.
Sit near a window for soft daylight and keep the flash off. Shoot from above for a spread or at 45 degrees for a single plate, and tap the food to focus before lifting the brightness slightly.