By Mithun
A nearly-right photo needs only a few slider moves. Here is how to edit iPhone photos in the Photos app so they look polished and still feel true.
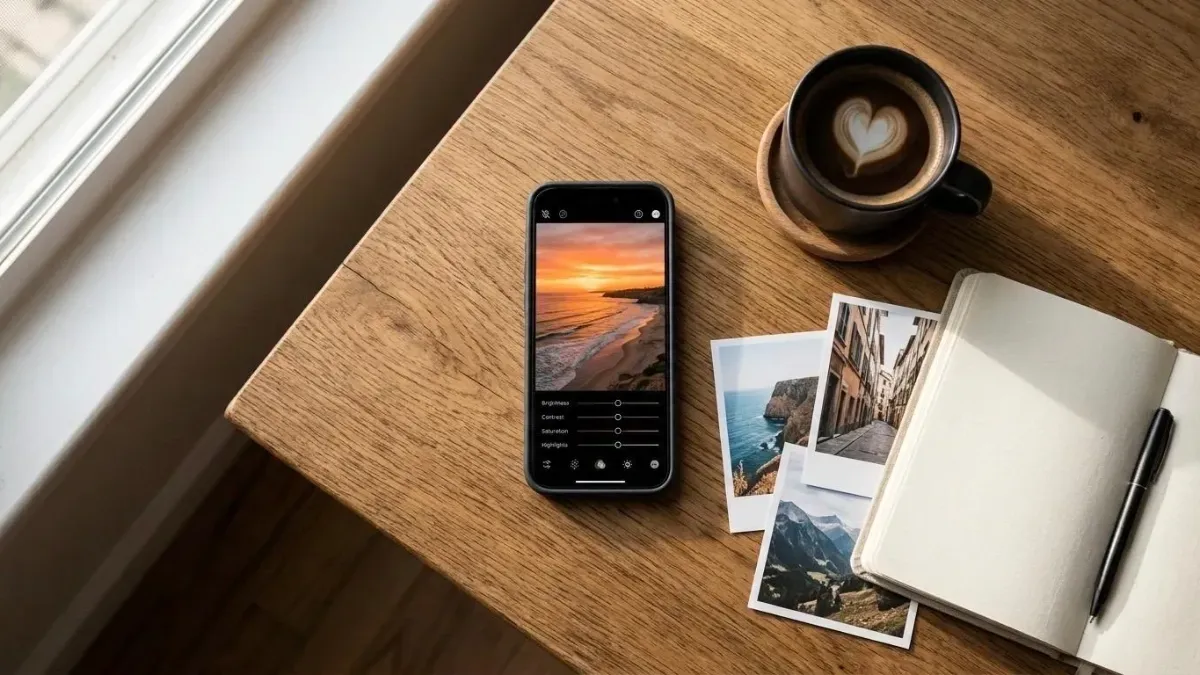
The photo from the beach is nearly right. The sky has turned a little white, the faces sit in shadow, and the colours look flatter than the evening felt. Learning how to edit iPhone photos to look professional takes about ten minutes, and the only app you need is the Photos app already on your phone. Every change you make there can be undone, so you are free to experiment.
For the settings that get the shot right in the camera, start with our guide to iPhone camera settings every beginner should know.
Work through your edits in this order:
To start, open a photo and tap the Edit button, the icon with three sliders at the bottom of the screen.
Tap Crop first, because every later adjustment depends on what stays in the frame. Turn the straighten dial until the horizon sits level, or tap Auto and let the iPhone level it for you. Then drag the corners to trim anything at the edges that pulls the eye away from your subject.
The aspect ratio button changes the shape: Square for a profile picture, 16:9 for a blog banner, and the iPhone's own 3:4 for Instagram, which now accepts it as it is.
Tap Adjust to open a row of sliders. The Auto button at the start makes a quick first pass, and you can fine-tune everything it changes. Then work through the light: Exposure sets the overall brightness. Adjust it first and keep the change gentle. Highlights controls the brightest areas. Lower it to bring colour and cloud detail back into a white sky. Shadows controls the darkest areas. Raise it to reveal faces in the shade. Black Point sets how deep the darkest tones go, and a small increase gives a washed-out photo its depth back. Brilliance brightens dark areas and tones down bright ones at once, which makes it a quick fix for a flat photo. Most photos need only two or three of these sliders.
Warmth shifts the whole photo towards orange or blue. Raise it to bring back the glow of a sunset that the camera cooled down, or lower it to calm the yellow cast of indoor bulbs. Vibrance and Saturation both strengthen colour. Saturation raises every colour equally, so skin can quickly turn orange. Vibrance lifts muted colours more than strong ones and keeps skin tones natural, which makes it the better choice for most photos.
The last few sliders work best in small amounts. Definition adds crispness to textures such as stone, bark or fabric, and Sharpness makes fine edges stand out, though too much of either leaves bright outlines that give an edit away. Noise Reduction smooths the grain in night photos, and a light Vignette darkens the corners to draw the eye towards the centre.
Clean Up erases a stray bin, a power line or a passer-by who wandered into the shot. Open it in the editor, then tap, brush or circle what you want gone, and the iPhone fills the space with what would have been behind it.
On iOS 27, Clean Up sits in the editor's Tools section beside two newer tools. Extend adds a little more scene around the edges after a tight crop, and Reframe shifts the viewpoint slightly. All three need an iPhone with Apple Intelligence (iPhone 15 Pro, iPhone 15 Pro Max or any iPhone 16 or later). They work best on simple backgrounds such as sky or sand, so check the edges afterwards.
Adobe Lightroom is worth trying once you want finer control. Masking lets you brighten only the sky or only a face, and presets give a whole trip one look. Lightroom's free version includes most everyday editing tools, while masking, the healing brush and raw editing need a paid plan. If you shoot ProRAW, our guide to iPhone camera settings explains when the bigger files are worth it.
Tap the photo at any point while editing to switch between your version and the original. If the original suddenly looks more inviting, ease the sliders back a little.
To give a set of photos the same look, tap the three-dot button on the finished one and choose Copy Edits. Then tap Select in your library, choose the others, tap the three-dot button again and choose Paste Edits. The iPhone keeps every original safely alongside your edits, so Revert to Original in the same menu takes you back whenever you like.
Go back to the beach photo. Straighten the horizon, lower Highlights until the clouds return, raise Shadows until the faces leave the shade and add a touch of Warmth, and the evening will look the way it felt when you stood in it.
No. The Photos app keeps your original alongside the edit. Very strong changes to a standard photo can bring out grain, and ProRAW gives you more room when a shot needs heavy editing.
The Photos app already on your iPhone covers most needs. For more tools, Snapseed from Google is free and adds a healing brush and film-inspired looks. Lightroom also has a free version.
Yes. The Photos app edits ProRAW files with the same sliders as any other photo, at no cost. Lightroom edits them too, although raw editing there needs a paid plan.